We are having our first swap at the Nebo Modern Quilt Guild in March. (I am so excited)
We are going to swap pincushions :)

I made a pincushion for a swap at Quilt Bliss last year and I really liked how it turned out,
so I wanted to do the same kind.
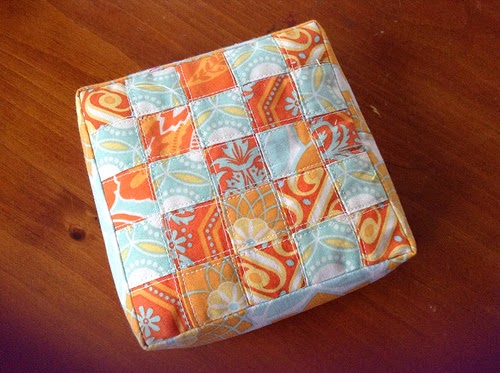
(I stole this picture of the pincushion I made from Melissa over at My Fabric Relish.
She was the quilter who ended up with it :))

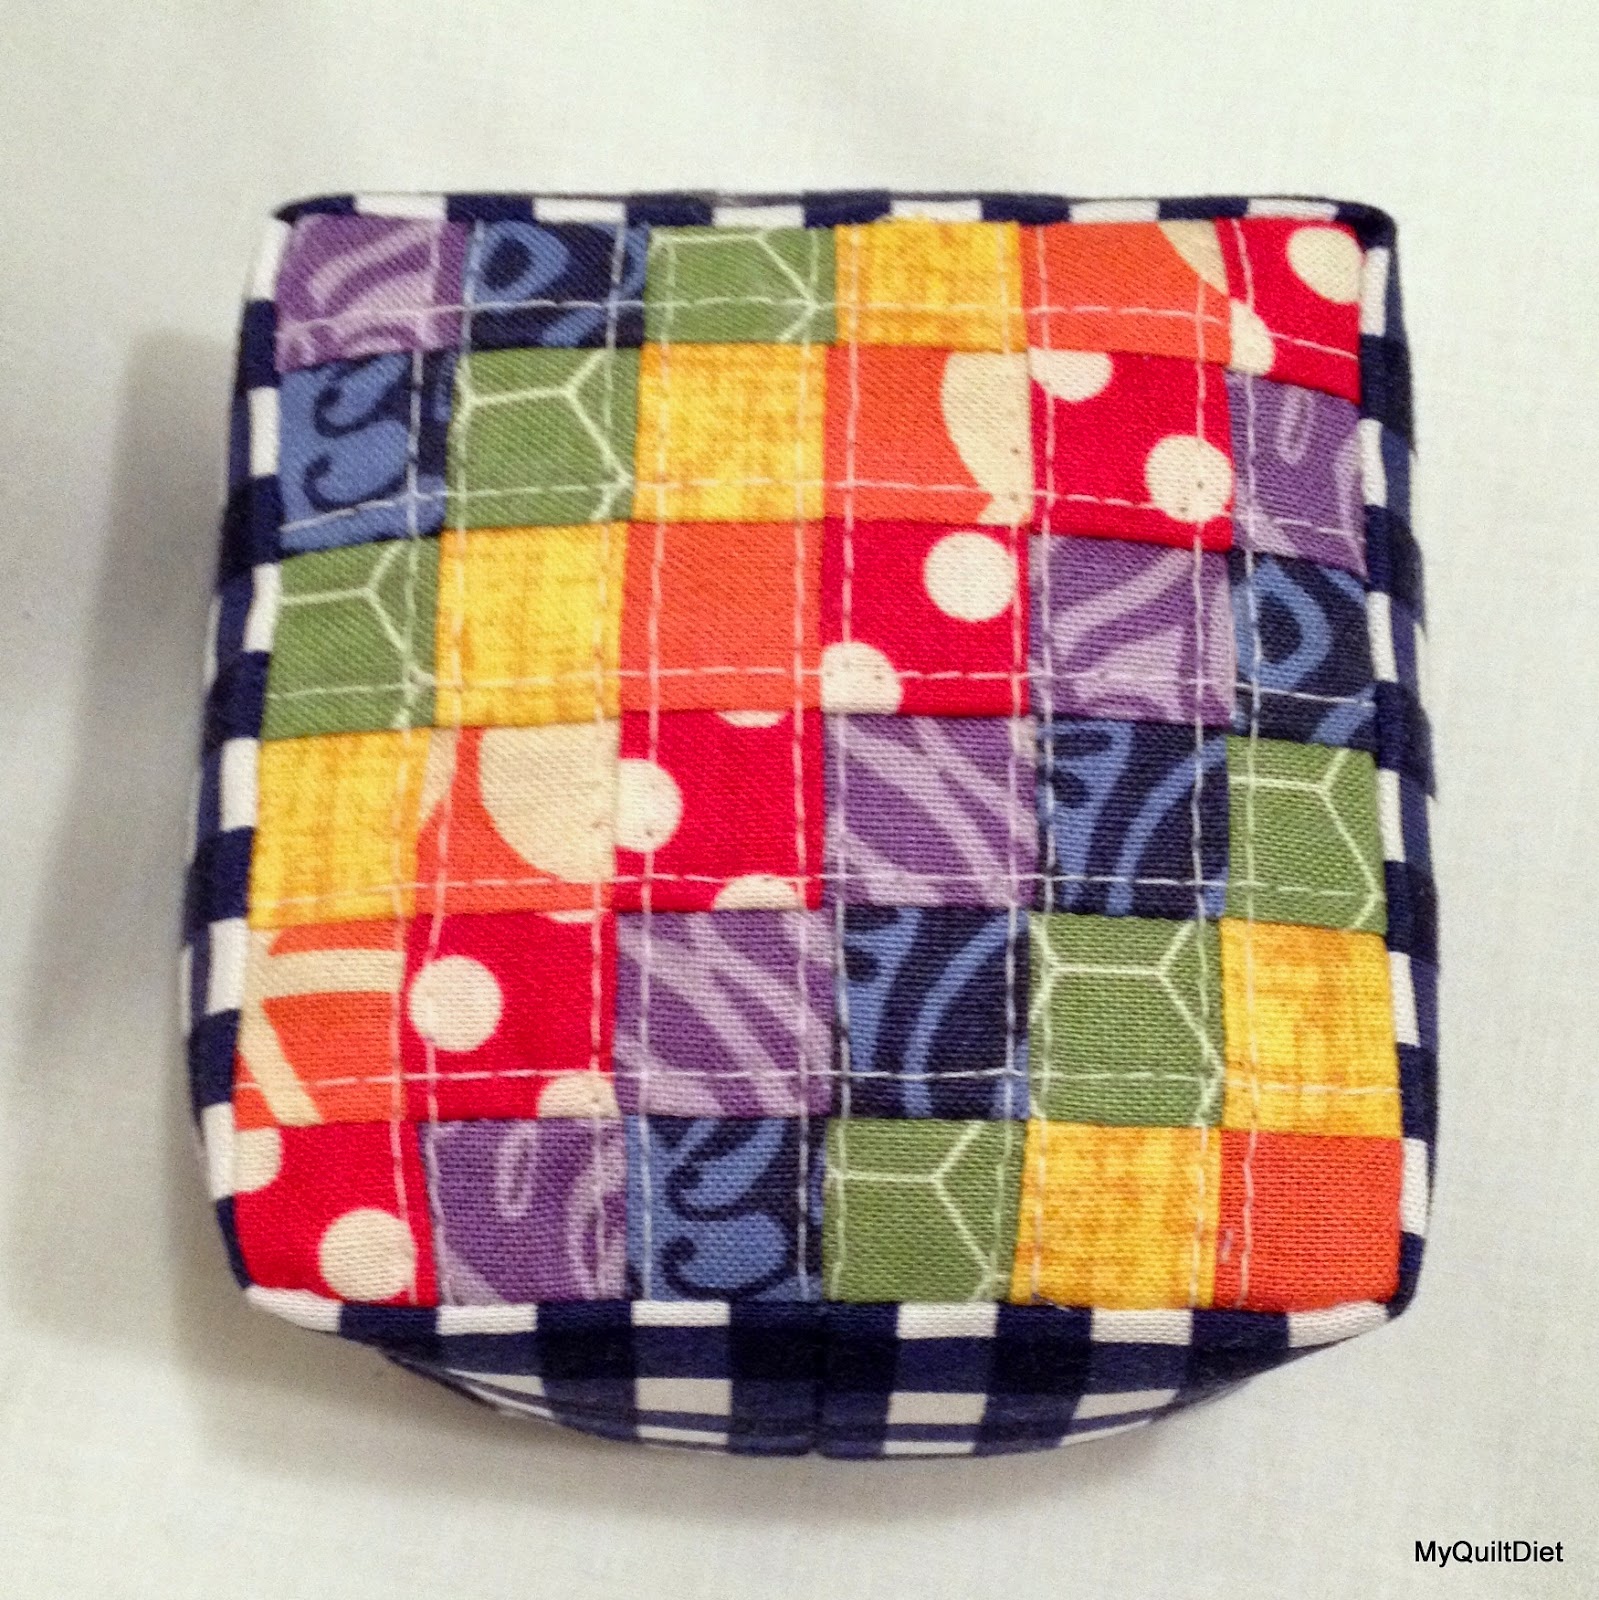
I started out with 1" squares, and they were just TOO big! Who needs a 6" pincushion??
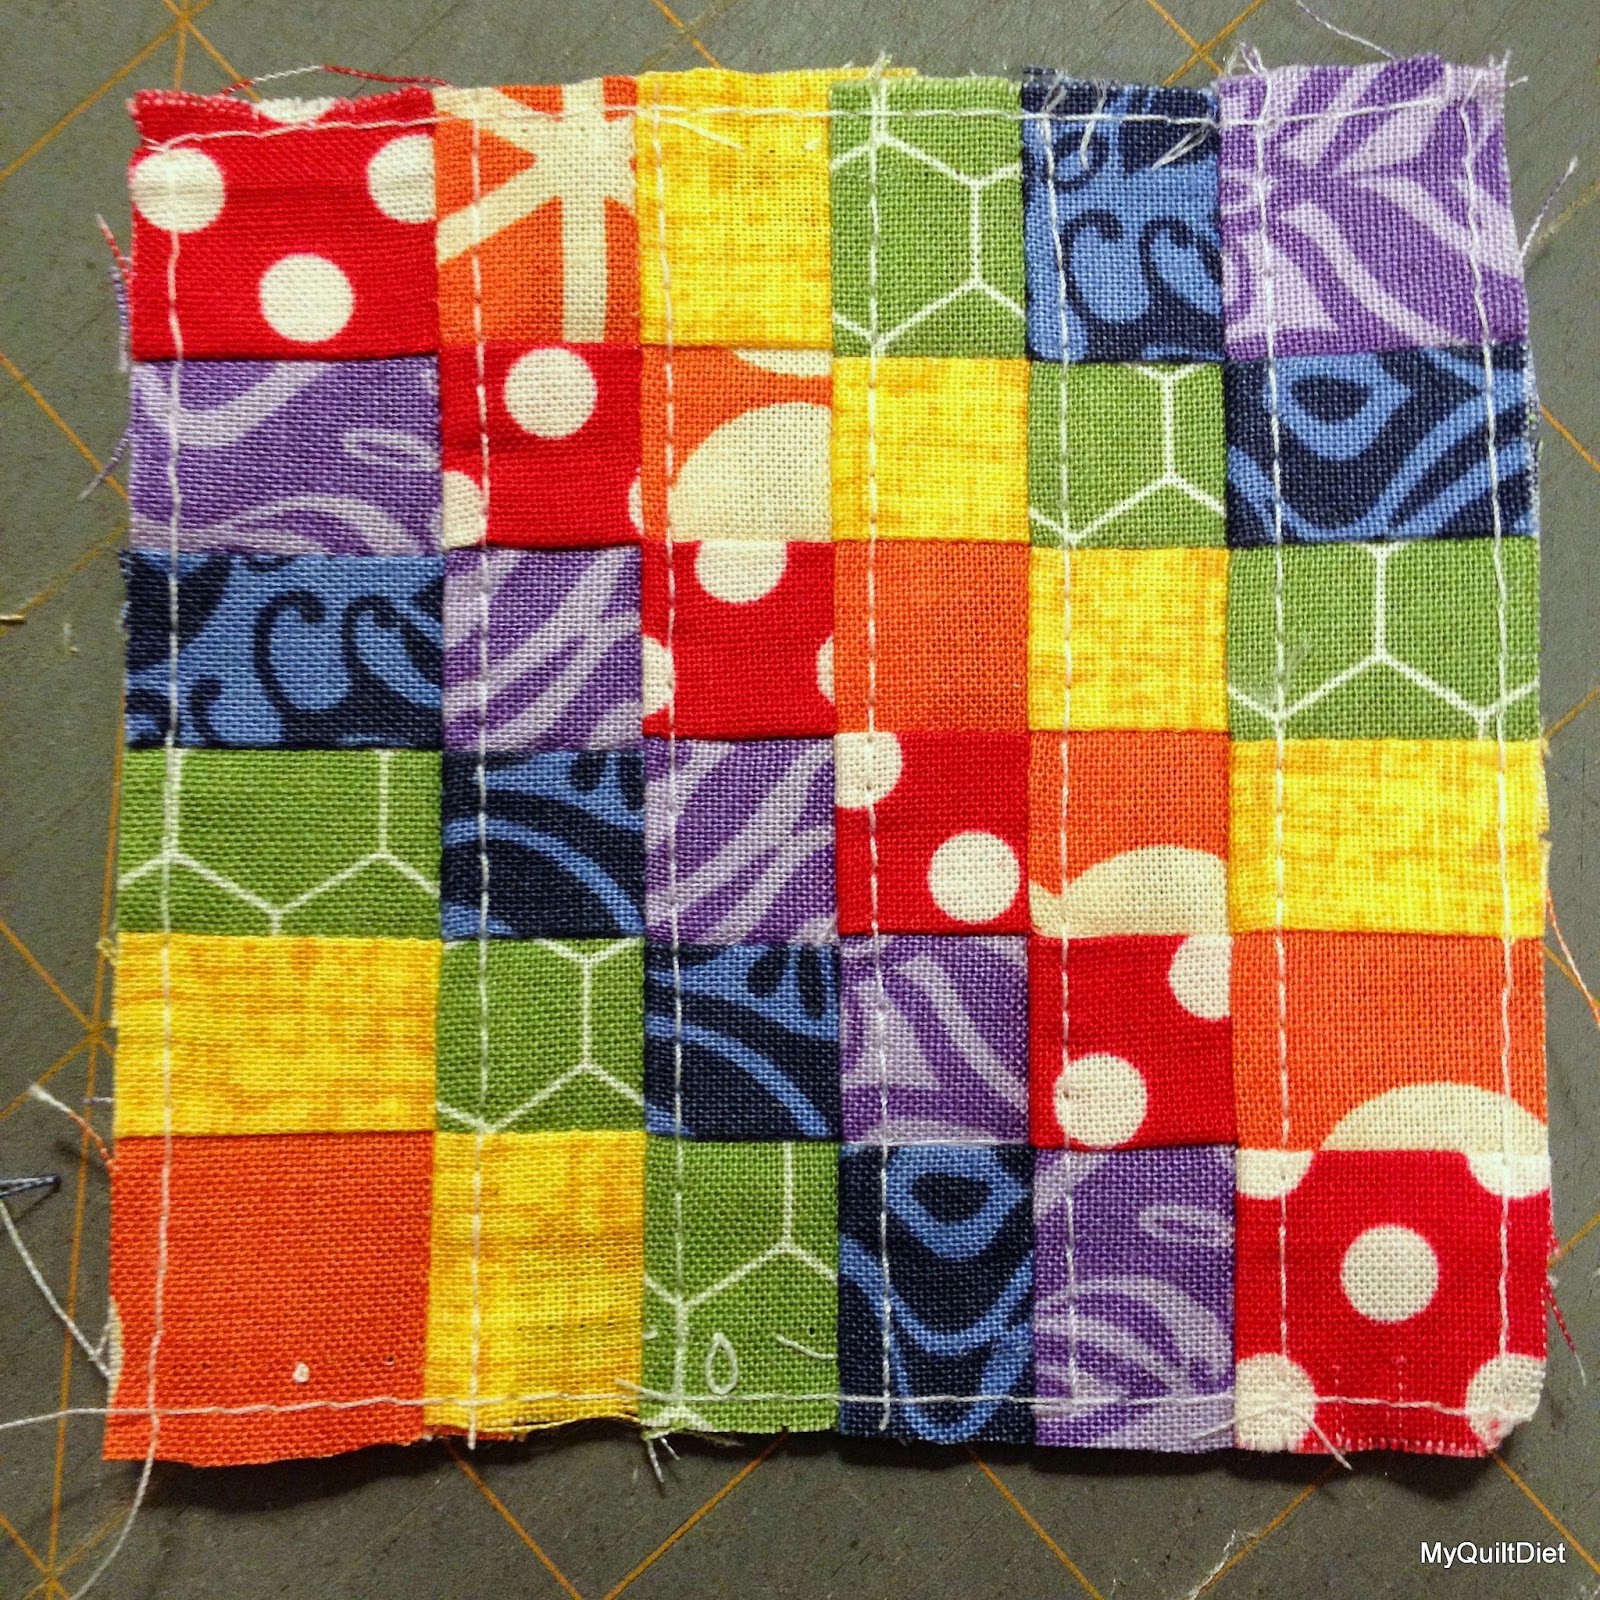
I shrunk them down to 1/2" squares, and that was just right!

I went a little taller with the sides, at 2-1/4" tall.
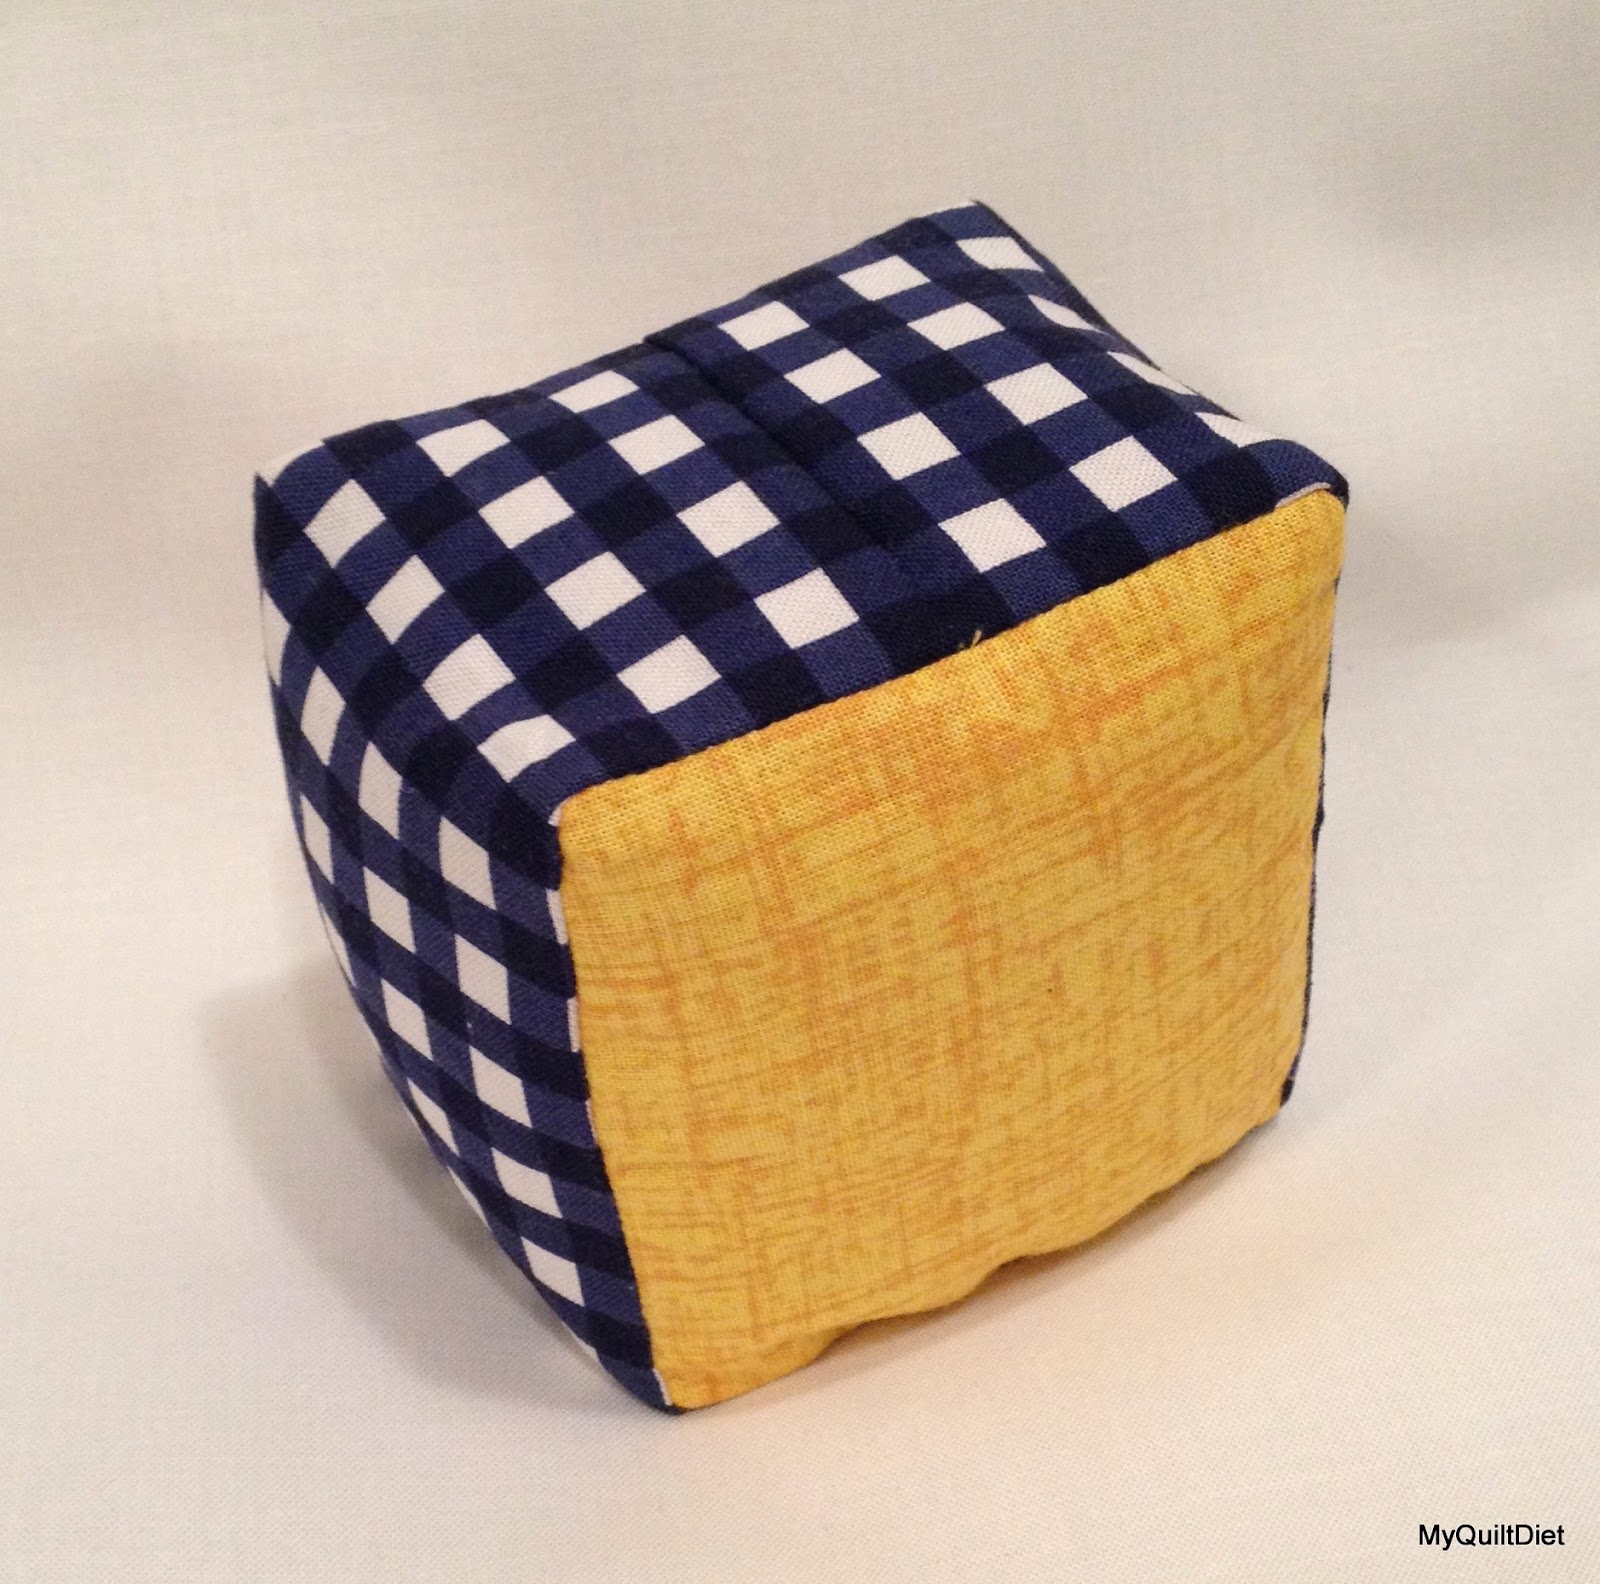
The bottom needed to be yellow ;)
I stuffed this baby with crushed walnut shells.

And, of course, I needed to add a label for good measure.

I think I may have to fight to take this one home with me :)
Measurements: Finished top 3". Height 2-1/4"
THIS is a GREAT tutorial for this pincushion by Heather Bailey. HERE
To make different sizes, here is the basic math rule. Take the finished top size. So, for a 3" finished top (3-1/2" unfinished) you take the measurements all the way around. 3+3+3+3= 12. Add a half inch for the seam allowance. (I use 1/4" seams, so a half inch.) 12-1/2" will be the length for the side band. The width of the side band can be as wide as you want. I recommend you cut the width at least 1.5" wide. For this pincushion I cut the band 2-3/4" by 12-1/2".

Helllo mate nice blog
ReplyDelete